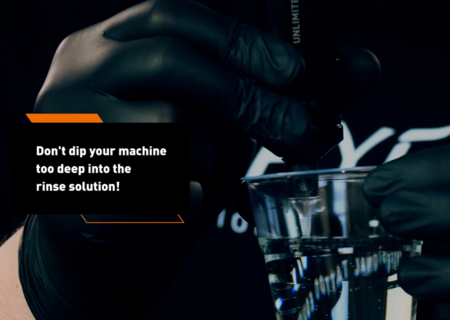
Rotary tattoo machines do not need to be oiled or otherwise maintained by you. Cheyenne machines contain a plug and play system. The closed construction has been specially designed to make any maintenance or lubrication of the drive motor obsolete. Opening and/or oiling your machine is also more likely to cause the machine to fail and this will also void the warranty. In this article we explain what you should pay attention to in order to clean your Rotary machine properly.
Caution: Danger of short circuit when dismantling the tattoo machine.
If components of the tattoo machine are dismantled and cleaned while plugged in, there is a risk of electronic damage to the drive motor. Therefore, always disconnect the tattoo machine completely from its power source, i.e. from your power unit or the mains adapter, for all cleaning and maintenance work.
Attention: Damage to the motor due to liquid
If cleaning agents or disinfectants get inside the machine, the electrical and mechanical components may corrode. Therefore, never soak your machine in disinfectant. Never clean it or the connection cable in an autoclave or in an ultrasonic bath and pay attention to material compatibility when selecting cleaning agents and disinfectants. Disinfectants that are not compatible with the materials of the product can cause damage to its surface. Also, use only disinfectants that are approved according to the regulations of your country.
To make it easier for you to choose, we have listed a selection of suitable products that you can use without hesitation - but be aware of the different exposure times:
- Antiseptica: Big Spray “new” (application time 1 to 5 min)
- Bode Chemie: Bacillol (application time 30 sec to 1 min)
- Ecolab: Incidin Foam (application time 1 to 2 min)
- Schülke & Mayr: Microcide Liquid (application time 1 to 2 min)
You can also use the following material compatibility information to determine which other cleaning agents and disinfectants are suitable:
The anodised aluminium components and seals of your tattoo machine are resistant to:
- Weak acids (e.g. boric acid ≤ 10%, acetic acid ≤ 10%, citric acid ≤ 10%)
- Aliphatic hydrocarbons (e.g. pentane, hexane)
- Ethanol
- Most inorganic salts and their aqueous solutions (e.g. sodium chloride, calcium chloride, magnesium sulphate)
However, the anodised aluminium components and seals of the tattoo machine are not stable in the presence of:
- Strong acids (e.g. hydrochloric acid ≥ 20%, sulphuric acid ≥ 50%, nitric acid ≥ 15%)
- Oxidising acids (e.g. peracetic acid)
- Alkalis (e.g. caustic soda, ammonia and all substances with a pH > 7)
- Aromatic/halogenated hydrocarbons (e.g. phenol, chloroform)
- Acetone and petrol
Preliminary work: disinfect the surfaces of the tattoo machine
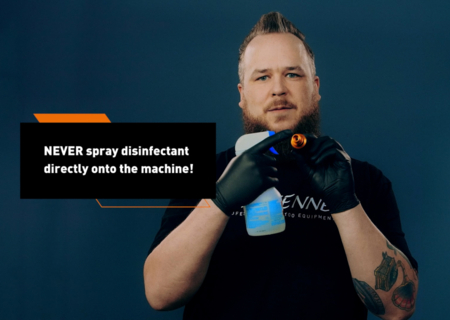
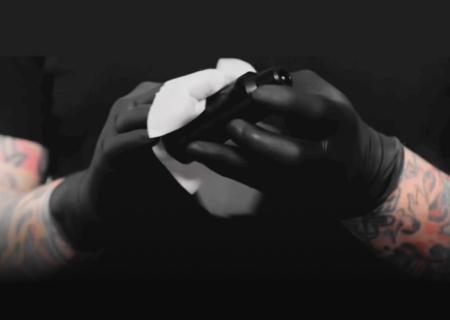
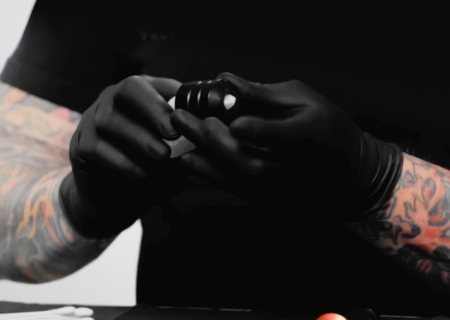
Before and after each tattoo session, you should first carefully disinfect all surfaces of the machine and its accessories. Always switch off the tattoo machine completely. Wipe the connection cable, the machine and the handle with a soft cloth moistened with disinfectant. It is important that you never spray the machine directly with the cleaning agent and never immerse it in liquid. Disassemble your machine and spread the parts out in front of you, always wearing medical gloves and ensuring a hygienic environment.
Check if the machine is grossly contaminated by returning paint or body fluids. In this case, carry out all the following steps:
Step 2: Clean the machine and its accessories thoroughly
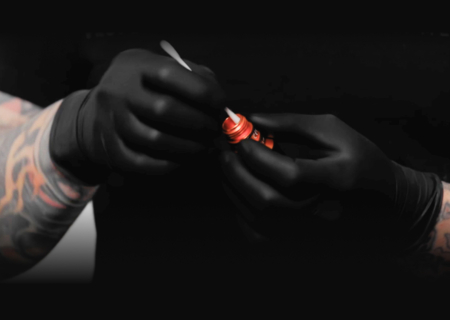
As explained above, you should always first unscrew the handle and the drive and wipe all parts and the protective hose with a soft cloth moistened with detergent or disinfectant. Then clean the harder-to-reach surfaces, such as the threads in the drive motor, with a soft nylon brush or cotton swab. It is also a good idea to remove the O-rings, both to clean the rings themselves and to clean the grooves underneath. You can also use a toothbrush - an unused one, of course.
Note that due to the nature of the surface, colour smears may appear on the tattoo machine.
Step 3: Clean the handle of your tattoo machine
After you have thoroughly cleaned the outside of your machine and its accessories and removed the machine's drive, you now turn your focus to the machine's grip.
Option 1: Clean the grip manually
If you want to clean the grip of your tattoo machine manually, you must proceed carefully, because this part is difficult to see thoroughly, especially with pen-shaped machines, and is very susceptible to the retention of ink and contaminated residues. Ideally, you thread the cloth moistened with disinfectant or cleaning agent into the grip. By rotating the grip around the cloth, you can reach the dirty areas inside. You can pull the cloth out again on the other side and repeat the process several times, but to clean even more reliably, it is advisable to use moistened cotton swabs or to work with a pipe cleaner. Depending on whether you have a pen tattoo machine or an angled rotary machine, you should choose your cleaning equipment accordingly.
Note: the grip and the O-rings can be sprayed separately with the cleaning spray. It is best to spray the parts and let the disinfectant soak in for about five minutes - the exact soaking time can be found in the respective product.
Option 2: Clean the grip in an ultrasonic bath
If the grip is very dirty, you can also clean it in an ultrasonic bath. It is best to use the cleaners Tickomed 1 or Tickopur R33 made by Dr. H. Stamm GmbH according to the manufacturer's instructions. Make sure that the pH value does not exceed 7. Carry out the cleaning for 10 minutes at a frequency of 35 kHz. After cleaning, dry the grip completely before using it again.
Option 3: Sterilise the grip in an autoclave
If the grip is contaminated, you can also autoclave it, preferably for 20 minutes at a temperature of 121°C and a pressure of 2 bar. After cleaning, dry the grip completely before using it again.
Clean or replace the O-rings
The O-rings on your tattoo machine prevent the grip from turning too smoothly. If the rotation of the grip is too smooth so that the needle projection changes uncontrollably, proceed as follows:
Degrease the O-rings with a soft cloth moistened with detergent or disinfectant or spray them as described above. If the problem persists, replace the O-rings with new ones and grease them with silicone grease (no oil!) if necessary.
Are you uncertain about how to clean your machine and whether you have understood everything correctly? Take another look at our cleaning video on YouTube or contact our support team at any time.
You can find all information about the repair service and the warranty in the Service section of our website.

